
Installation Tips
PPF Installation Temperature and Finishing Mistakes to Avoid
Ask an experienced installer why a film failed and the answer is rarely the adhesive recipe. More often it is the conditions the film was installed in, and the last ten minutes of the job. Temperature governs how the adhesive behaves minute by minute, and finishing decides whether all the careful stretching and alignment survives contact with the customer’s first wash. This guide covers the temperatures that matter for PPF installation, how to adapt in cold and hot bays, and the finishing mistakes that quietly shorten film life.
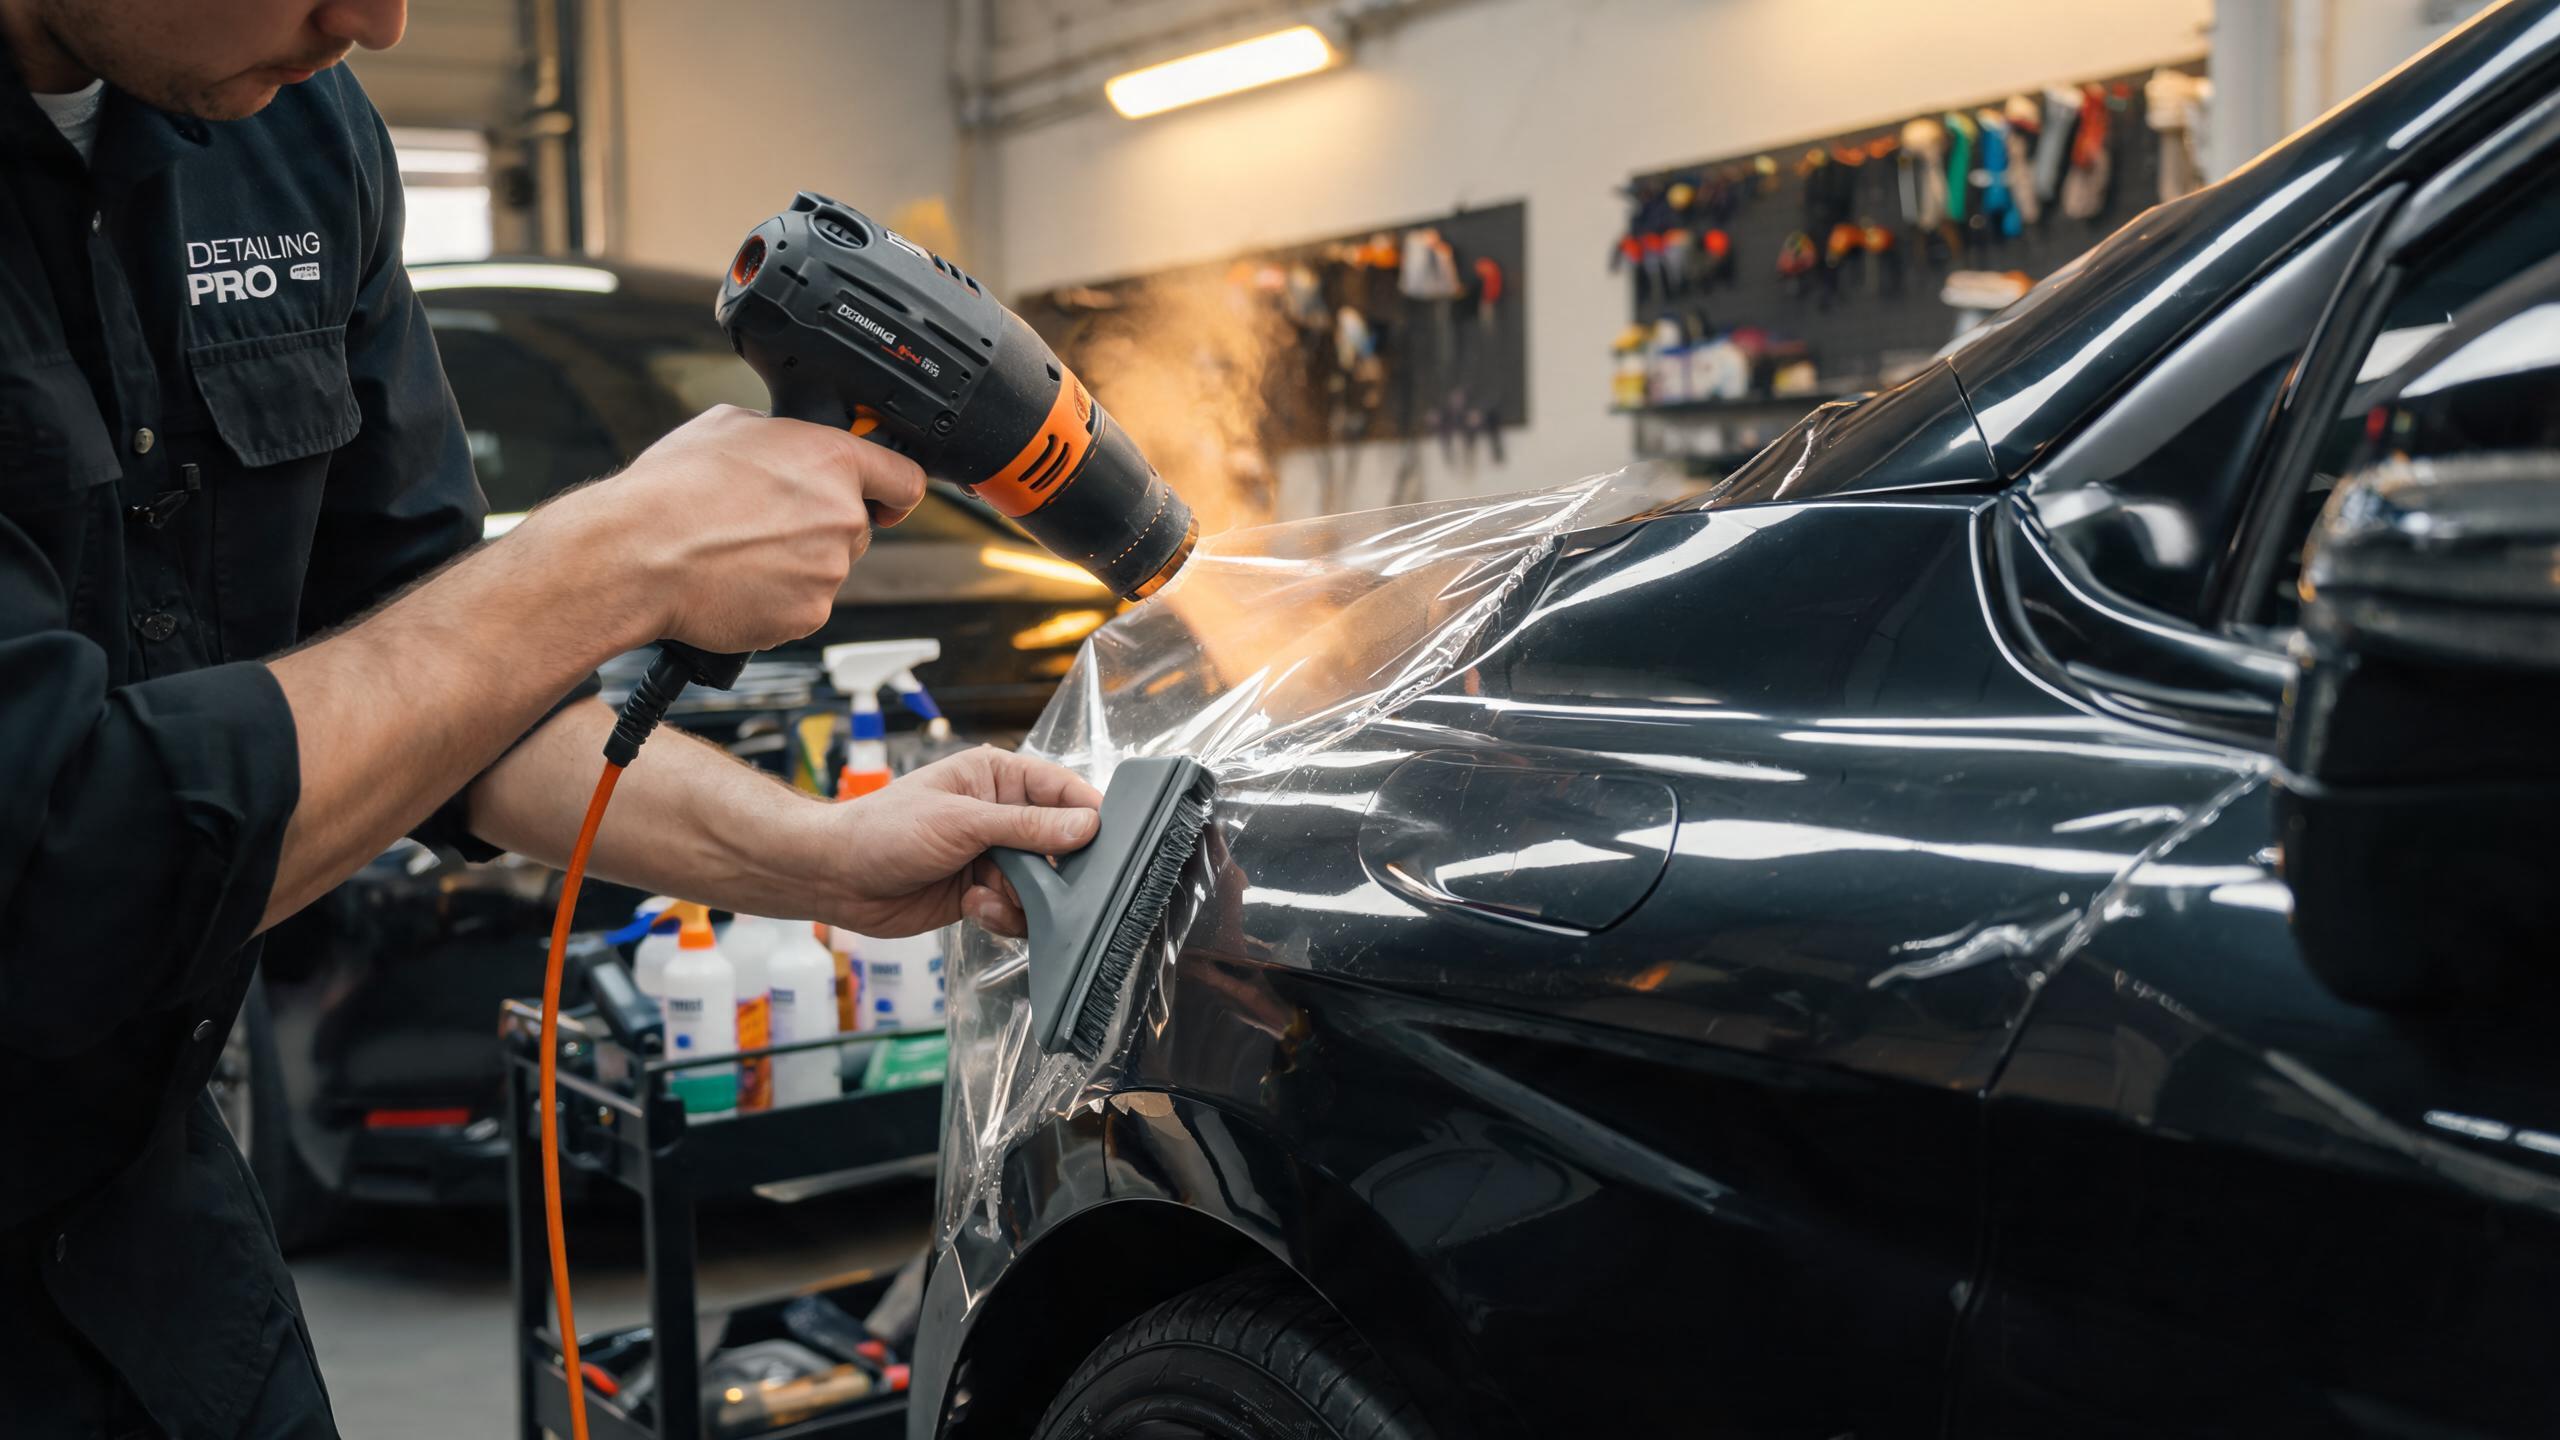
What are the three temperatures that matter: bay, panel and film?
Installers talk about room temperature, but three numbers actually matter. The first is bay air temperature, with a comfortable working range of roughly 18 to 28 degrees C (65 to 82 F). The second is panel surface temperature, which matters more than air temperature: a car that just drove in from summer sun can have a hood skin well above 50 degrees C, and cold shop panels in winter can sit below 10 degrees C even when the air feels mild. The third is film temperature: film stored in a cold van behaves like cardboard, while film warmed to room temperature handles like fabric. Before every job, let the film and the vehicle acclimate together in the bay for a few hours. It is the cheapest step in the entire process.
How should film be installed in cold conditions?
Cold does not prevent installation; it changes the pace. In a cold bay, film is stiffer and resists taking shape, the adhesive is slow to tack, and slip solution lingers longer, so panels feel loose for longer before they lock. The adaptation is patience plus warmth: warm the film and panels deliberately, use moderate heat shaping more often, and give edges extra squeegee pressure and time before trimming. The danger of cold work is silent failure: an edge that looked adhered but never tacked properly will let go a few days later. Re-check all edges at the end of the day and again the next morning.
How should film be installed in hot conditions?
Heat does the opposite: it speeds everything up. Adhesive tacks almost instantly, slip solution evaporates mid-panel, and the film becomes harder to reposition after it touches down. Work with more solution, lay panels in one confident pass, and schedule the most demanding panels for the coolest hours of the day. Heat also raises a long-term risk: a panel installed under a hot afternoon sun can stretch and relax overnight as it cools, which reads as edge lift and pooled tension. Cool the panel surface before you commit the final squeegee pass, and keep the car out of direct sun during curing.
What is the post-install curing window that owners must respect?
Fresh film is not finished film. Adhesive continues to build strength for days, and the moisture under the film needs to evaporate out. Most manufacturers specify a window of roughly 24 to 72 hours before the first wash, with no high-pressure jets on edges for the first week and no parking under trees dropping sap. Follow the curing card that ships with the film: the exact hours vary by adhesive system. During curing, a light haze or water clouding under the film is normal and disappears; persistent bubbles or pooled water at an edge are not, and should be checked at the 24-hour inspection.
Which finishing mistakes shorten film life?
Most premature failures trace back to the final ten minutes, not the middle of the install. Heat is left on an edge until the adhesive strings, knife lines are cut through the film instead of released, and slip solution is wiped away before the adhesive has tacked. Each of those shortcuts shortens film life by months. The recurring offenders:
- Trapped slip solution: too much liquid left under the film slows tack and leaves visible pockets. Squeegee in overlapping passes from the center out.
- Edges cut on paint: a rushed trim leaves a blade mark the film will later highlight. Trim on the film with a fresh blade, away from the paint.
- Unwrapped pockets and missed edges: corners of bumpers, mirror backs and door cups hold water if left open. Wrap or seal them.
- No post-heating on wrapped edges: a warmed edge press-down locks the adhesive around the curve. Skipping it is why wrapped edges relax.
- Handover without inspection: hand the car back only after a raking-light walkaround and an edge check.
What is a ten-minute final inspection routine?
Finish every job with the same routine. Roll the car into the inspection position under raking light. Walk the vehicle twice: once for surface defects (dust nibs, squeegee marks, trapped air) and once for edges (lift, trim quality, open pockets). Check the panel gaps: doors and hood must close without binding on wrapped edges. Photograph the delivered state for the customer file. Ten minutes here protects the weeks of reputation built by the rest of the job.
Temperature discipline and finishing discipline are learned habits, and they are the two habits manufacturers check first when they inspect a failed panel. If you are still specifying material, the clear PPF product range documentation includes the adhesive curing card for each product, and the PPF care guide for owners lists the mistakes that most often void a film warranty after delivery.
Reference material: ASTM International publishes the film test methods used for adhesion, optical and physical properties; NIST maintains public polymer and materials reference data.
What temperature should a PPF installation bay be?
A range of roughly 18 to 28 degrees C (65 to 82 F) works best. Panel surface temperature matters as much as air temperature, so let the film and vehicle acclimate in the bay before starting.
Can PPF be installed outdoors?
Only as a compromise. Outdoor work exposes the adhesive to dust, sun and uncontrolled temperature. If it is unavoidable, work in shade, on a cool panel, in calm dry weather, and inspect edges again after 24 hours.
How long after PPF installation can I wash the car?
Most manufacturers ask for 24 to 72 hours before the first wash, and no high-pressure jets aimed at edges for the first week. Follow the curing card supplied with your specific film.
Why does PPF look hazy or cloudy right after installation?
Residual moisture under the film scatters light, which reads as haze or water pockets. This is normal during curing and typically clears within days. Persistent bubbles or water pooled at an edge after 48 hours should be inspected.
